
It's inevitable. It happens every year. There is absolutely nothing you can do to stop it. It's called: Winter. Earlier this summer I bought a sturdy pair of rain *boots for a family camping trip that I have since fallen in love with! I just wanted them to be a little softer, warmer and more comfortable so I came up with the idea of making my own liners - instead of paying the costly price for the designer brand ones sold in high end department stores. Besides, I am not one for labels showing on my attire. I loathe them. I think these are a pretty good, if not better, substitute!

3/4 yard of fleece
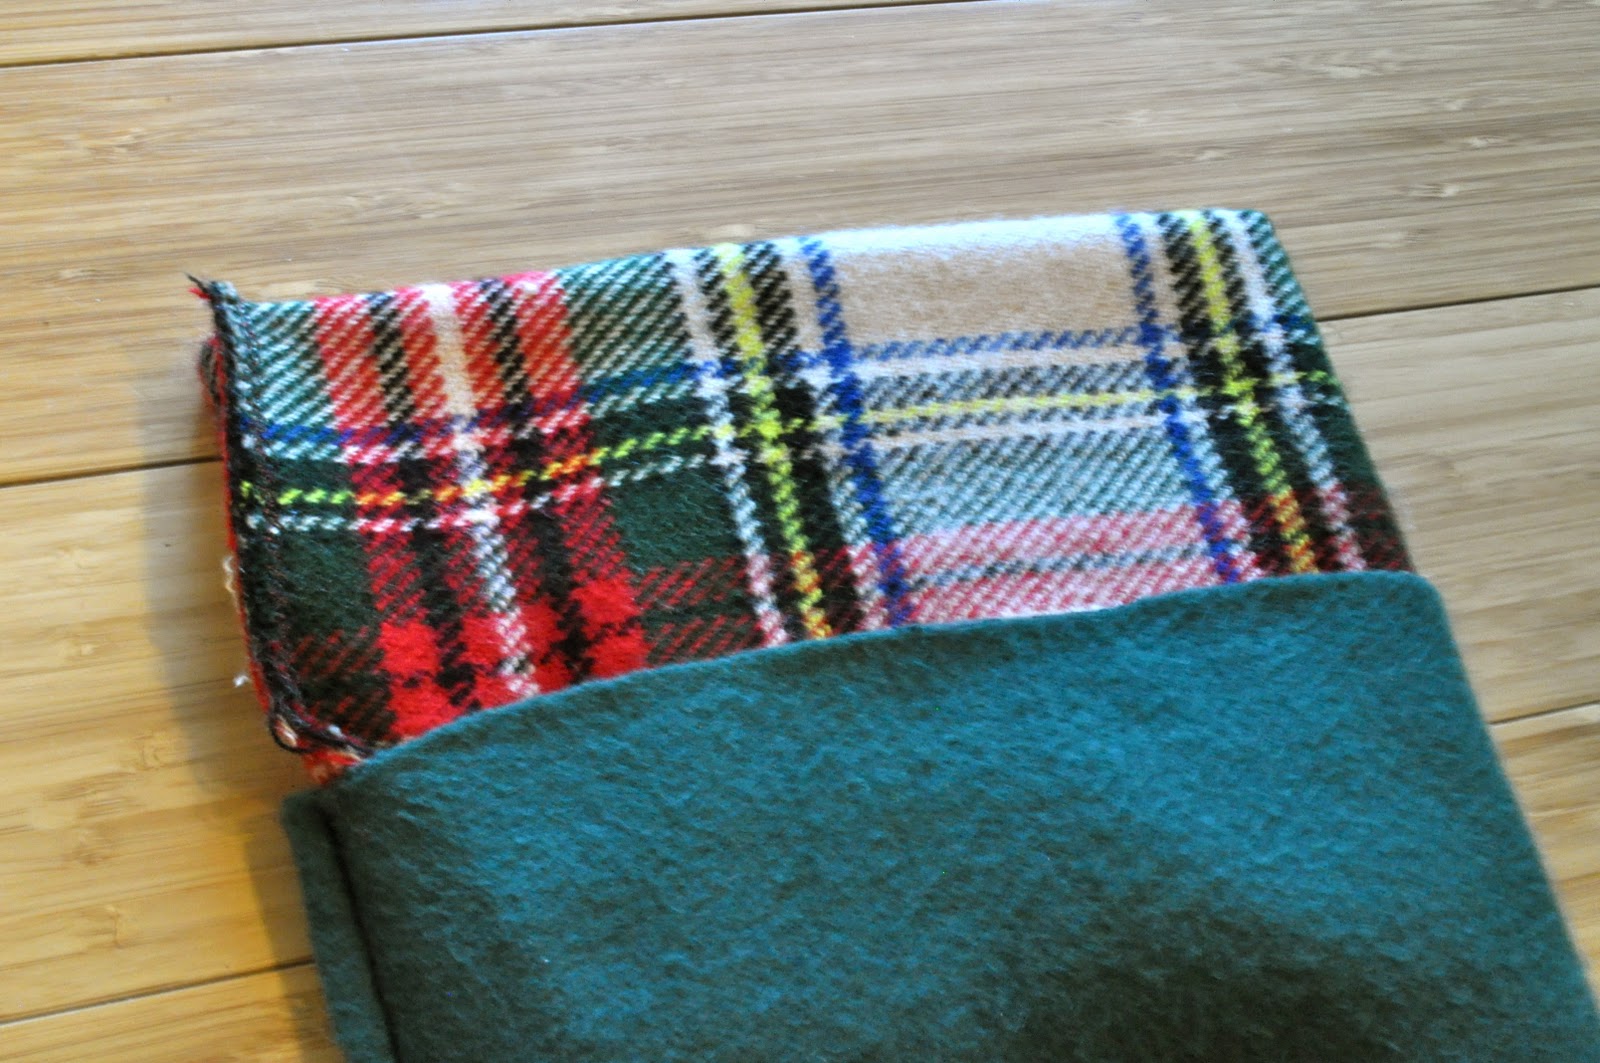
decorative *fabric of your choice - at least 1/4 yard.

I used a plaid scarf to make mine!

I found a tutorial awhile back on Prudent Baby for a pair of slippers with a free pattern provided. I decided to use their template and instructions to make the bootie part of the liner. Click HERE for the pattern.

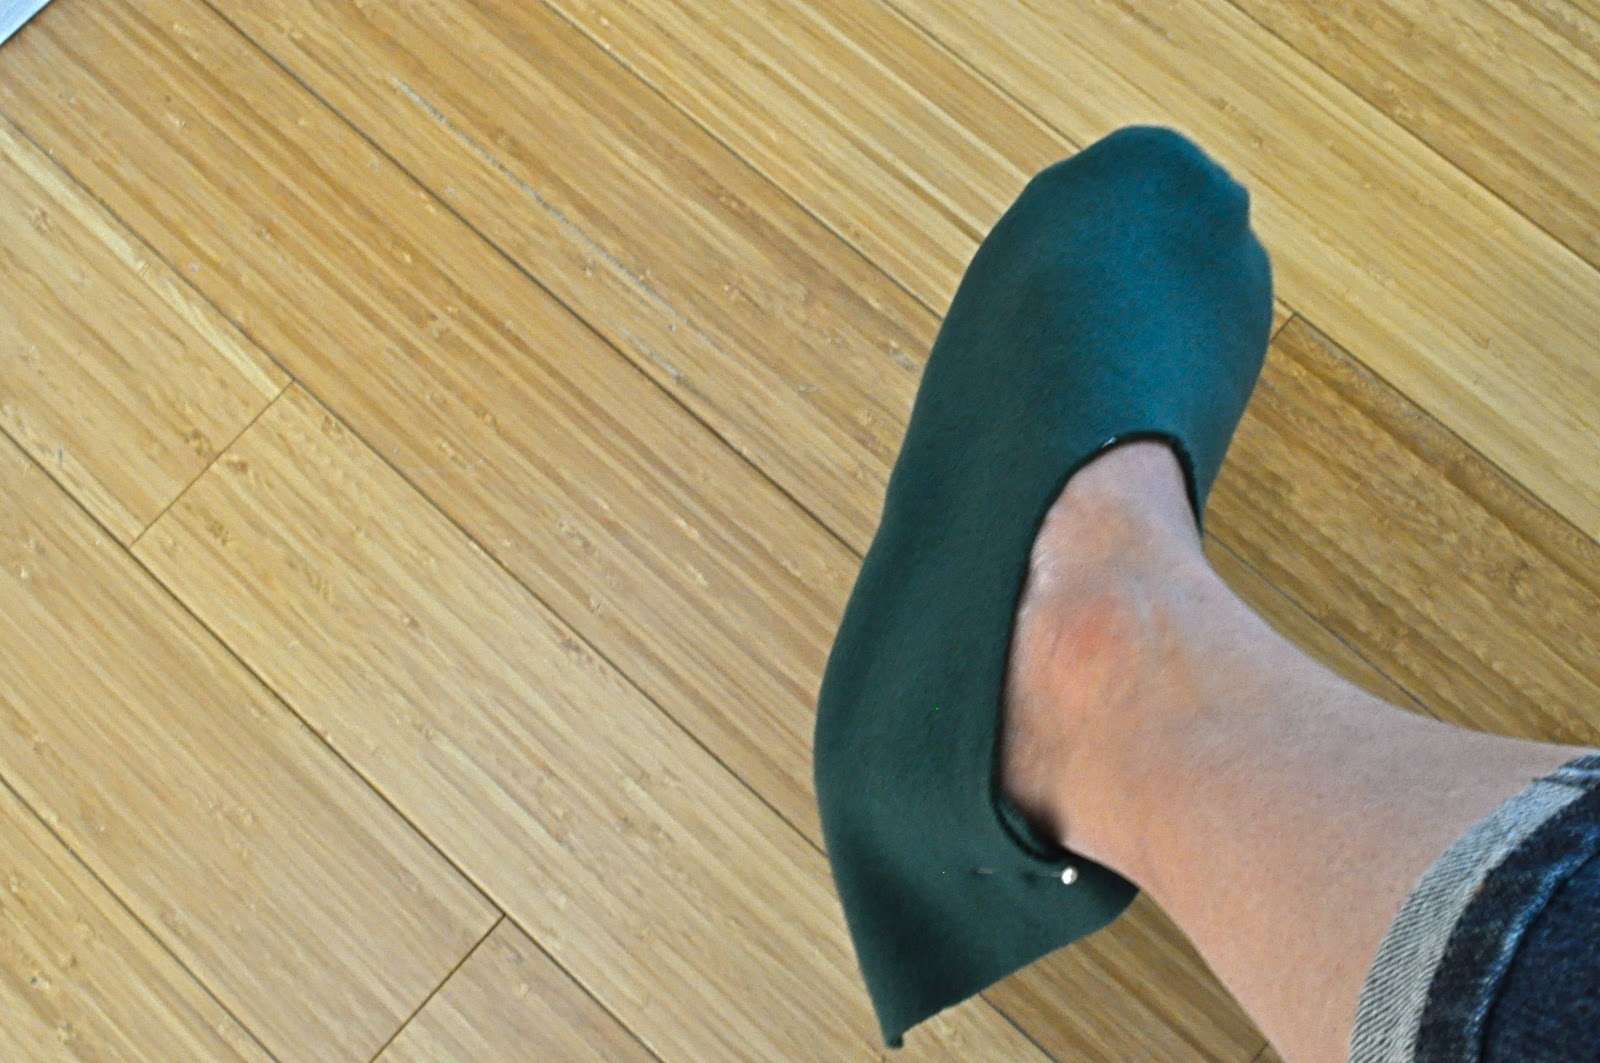
Next, I laid down my boot to measure how high and how wide I wanted the leg of the liner to be. I then cut two pieces that will fit appropriately inside of the boot.

You should have the following pieces before you can begin to sew.

I followed the instructions from Prudent Baby and I sewed my foot pieces to the "horse shoe" looking piece. Start at the toe of your pieces and sew along one side. Then come back to the toe and sew along the other side. This will assure that your 2 pieces will line up correctly and you won't have issues when you get to the heel. Leave the back open - do not sew closed, yet.
After sewing those 2 pieces together, you should have what is a makeshift looking slipper with the back still open.
(excuse the dry white legs!)

Next, I folded the leg part of the liner in half to find the center and then pinned it to the top of the bootie. Doing the same steps as before, start sewing from the center and then along each side so that it will match up in the back.

You should have something that looks like this when you are done! This is also a good point and opportunity to size things how you want them. Do you need to take in the leg, trim the height of the liner, take more in at the heel...etc?

Once you have custom fit your liner, you an sew up the back to close it. They should look like this.

Now measure you leg opening and cut your fabric to A) the measurement of the width of your opening PLUS an extra 1/4" for a seam allowance and B) twice as high as you want your fold to be. You will want to cut your fabric to be twice as high as your fold so that you can see the fabric detail on the inside of the boot as well!

Now, fold your decorative fabric in half lengthwise and widthwise and sew it closed to make a tube. If you want to close the bottom up, go ahead, but it is not necessary. I left mine open.
Next, with your liner turned right side in, slide your inside out "tube" halfway down into it.
Does that make sense?

Now you can sew along the top of your fleece to attach your fabric. Then sew it again at the bottom of the decorative fabric to attach it to the wall of your liner so that it doesn't ride up while wearing it.
You are done! Now splash around and show off your styling wellie's that are one of a kind!

Decorative fabric: $5.00 - taken from a scarf
fleece: $2.80
____________________________________
total cost: $7.80
*Because inquiring minds want to know: Boots were purchased at a Farmers Feed and Supply store called Cal Ranch. Plaid fabric was a scarf I found at Forever 21 for $5.00.
Loved your visit! Until next time...


