Monday, April 25, 2011

DIY Sundance Catalog Poster

One of my favorite things to read are magazine articles, news segments or blog posts on how to achieve a designer look for less! Whether it's clothing or a room remodel, it can always be done! Who doesn't love a budget friendly result?

While recently browsing the Sundance Catalog's website, I came across this beautiful "Eggs of the Avian" print....
I fell in love with it! But then, my eyes wondered over to the price and a loud gasp was released from my lips after it's discovery! While it is lovely in it's entirety, I unfortunately cannot afford this $495.00 piece of art. I really wanted to find a way to create it on a budget and was bound and determined to do so!
(The original is quite large but I only need something to fill a small space on my wall)

Here is what I came up with:
I found this FREE downloadable print over at The Graphics Fairy. I hate to admit it, but I actually like the vintage charm of this one better than the Sundance version! I know that if I take a pdf to a printing shop (Staples or Office Depot does it for only a few dollars), I can have it made into any size I need as long as the resolution is high enough. 
*For yet another similar egg graphic click here*


I then spotted this reclaimed 11X14 barnwood frame to finish off the look at Hobby Lobby for only $15.00! If I use a 40% off coupon that they so frequently send out, it would only cost me around $9.00!
(This frame can also be found at Michael's! Hooray!)

What do you think? Is it a close enough match? I think saving a whopping $475.00 makes it a perfect match! 

As soon as my spring cleaning, prepping the yard/garden for the new season and a little family vacation is complete, I will start this very project! 


Loved your visit! Until next time...
Photobucket

Monday, April 18, 2011

"Knot" Again! T-Shirt Tutorial

I know I have said it on here before, but I just NEED a break from any piece of clothing with a ruffle or bow embellishment! My closet is full of them - the stores are full of them. I always know when I need to get a grip and step back from an obsessive trend. For me, that time is now! 
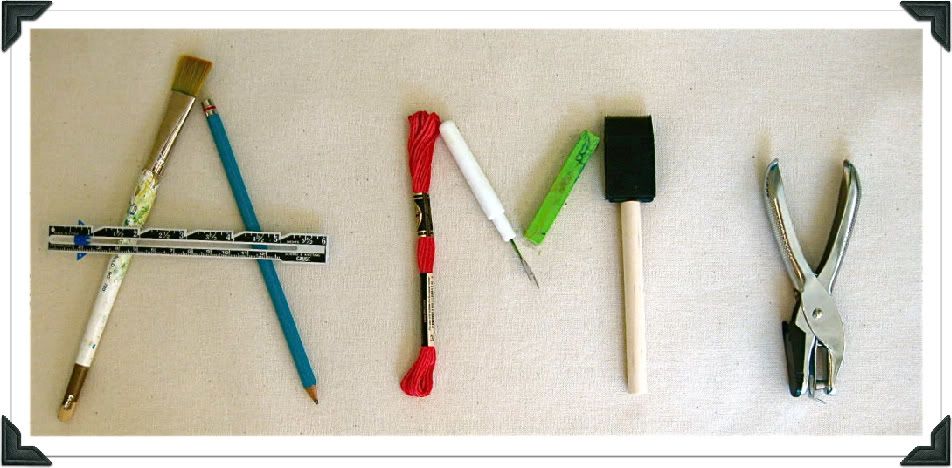
(hey world...it's me, Amy!)


While still liking a good embellishment, I wanted a shirt that avoided the above mentioned but still had a little flair! Knots! Why not!? This project is super easy, repurposes an old shirt, takes less than an hour and uses very little supplies - most of which you probably already have at home.
Materials that you will need:
-iron
-heat and bond (light weight)
-1.5 yards ribbon
-scissors
-1 shirt in good condition
-1 shirt to be repurposed
-ruler or tape measure
-sewing machine


At the last minute, I changed out my ribbon from the orange ribbon shown in the picture. When I looked at the front of it, this is what I read! Undetermined content doesn't belong on my chest! I decided to go with a black grosgrain ribbon instead!


Start by cutting out a piece of your heat and bond into a strip that measures 2.75" in width. Measure the length of your shirt and add 1/2" to the length of your heat and bond. This will allow your strip of fabric to be folded under when you are ready to sew.


Be sure to cut a curve at the top of your strip to fit the curve of your collar.


When your strip has been measured and cut, place it down on the old shirt that you want to repurpose. Find a section that fits the strip of heat and bond and iron it down. You may have to use the back like I did.


Cut the fabric around the strip of heat and bond with a 1/4" allowance on all the sides.


Next, remove the backing from your strip. Fold your fabric over with the use of the edge of your hot iron and press the sides down onto the adhesive. Be careful not to get the hot iron onto the adhesive - keep it strictly on the edge where your shirt is folded over. 

*Sorry, photos for the next 2 steps were accidentally deleted!*

Now, lay your strip of fabric, adhesive side down, on the center of your good shirt. Make sure to measure and pin. Use your iron to press the strip of fabric down on your T shirt. Be careful not to stretch or pull the shirt while ironing as to not offset the strip. Fold and adhere the bottom 1/2" of your strip under your shirt for a more finished look.


Once your strip has been ironed down, you are ready to sew it on. Try to sew as close to the edge as possible. 


Next, you want to cut your ribbon into 7" lengths. 1.5 yards of ribbon will get you 8 pieces. Lay your pieces of ribbon down the front of your shirt measuring and pinning as you go. I spaced mine out at 2".


Now you can sew your ribbons on! I used a horizontal stitch about 1/2" in length. I tried to use a vertical one, but the knots felt flimsy and would flop from side to side. 


Tie all your ribbons in a knot. Depending on your ribbon, they may look crooked.


I went back over the ribbons and did a tiny stitch (not to be noticed) to hold them in place by walking my machine over them a few times. It may seem redundant to sew them on twice, but this was the only way I could figure out how to get them to be sturdy and hold them in place at the same time. Trust me, I tried other ways! 

You are done! How did you do? Was it easy enough for you to get it done in between folding the laundry and making dinner?
As with all my projects, if you decided to tackle one and have a photo of it, I would love to see your work! It always makes me so happy! Simply email me at the address in the right hand column so I can tell you how amazing you are! 

*Click HERE to see where I have linked this project up to this week!*


Loved your visit! Until next time....
Photobucket

Wednesday, April 6, 2011

The Good And the Bad

Hello dear followers! I cannot even tell you how much I have appreciated you hanging in there and patiently waiting for me to get back online! I would check into my blog every few days to see if there was any news, emails, questions or comments that I needed to tend to and was always so thrilled to see that you all have stuck with me and that I had even gained a few new followers! Much thanks to you all - I am so happy to have you visit and support this little blog of mine!

Well, I have bad news and I have good news. 

I will start with the bad first. My pregnancy was unfortunately unsuccessful and we lost the baby at 16 weeks into it. It was one of the hardest things I have ever had to go through - especially because I have hyperemesis with my pregnancies during the first trimesters. I really thought all the hard work, the hours of bed rest, the sacrifice of not being able to spend quality time with my husband and son would all pay off in the end when I finally got to hold the little baby in my arms. I am heartbroken that it won't. The ONLY reason why I am telling the news on this blog is to let you know why I haven't felt the need or desire to blog again but also because people always anticipate a pregnant blog author to post about their pregnancy and any fun baby finds, DIY baby projects, ideas for a nursery and then await for the big announcement when the baby has finally arrived. I too love to read those kind of things from some of my favorite bloggers around the web who are expecting and it always makes me feel like I am one of their closest friends! I love being allowed to read the details and happenings of their exciting time and how much they look forward to their new addition and how they are preparing for it! I will continue to read their incredible blogs and cheer them on from my living room! It really should be a time of celebration and sharing! I simply just wanted you, my friends, to know why I can't share such things with you! 

The good news is that I am doing well! I am healthy again, my spirits are up and I have been making up for lost time hanging out with my loving hubby and my favorite silly little 3 year old! We have an amazing support system of family and friends around us and our faith in God to lift us up whenever we are down! It feels good to see Spring around the corner, to feel the sun on my face and be able to see my apricot tree in blossom. Those are all the things that help a wounded heart heal! We are so hopeful for the future and this little bump in the road will not detour us in any way. Also, on a good note, while taking the needed time off, I have been brainstorming and getting inspired about some new DIY projects to post on here and I have a few goodies up my sleeve! It feels good to get back in the saddle again and I look forward to moving on, pressing forward and finding happiness in working with my hands once again! 

See you real soon!


Photobucket

LinkWithin

Related Posts with Thumbnails